Introduction
What is an FSA?
A Finite State Automaton (FSA) (also called a Finite State Machine) is a mathematical model of computation. It reads an input string one symbol at a time and decides, at the end, whether to accept or reject it. If an input is accepted, we say that the automaton "recognises" it, and that the input belongs to the language recognised by the automaton (a simple example of a language could be the set of all inputs that start with "a"). In other words: an FSA is a machine that takes a string as input and decides whether it belongs to a specific set of strings (the language). Put simply, an FSA can be broken down into these five components:
- States
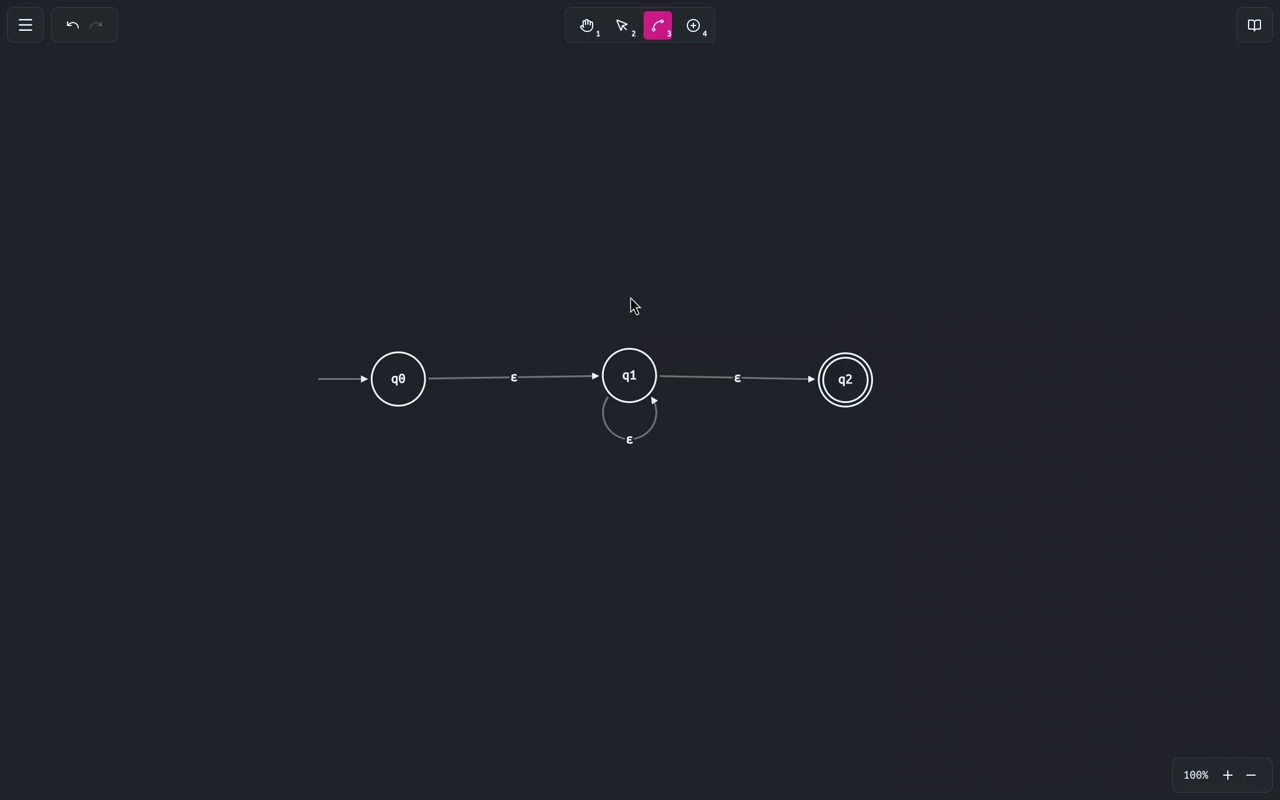
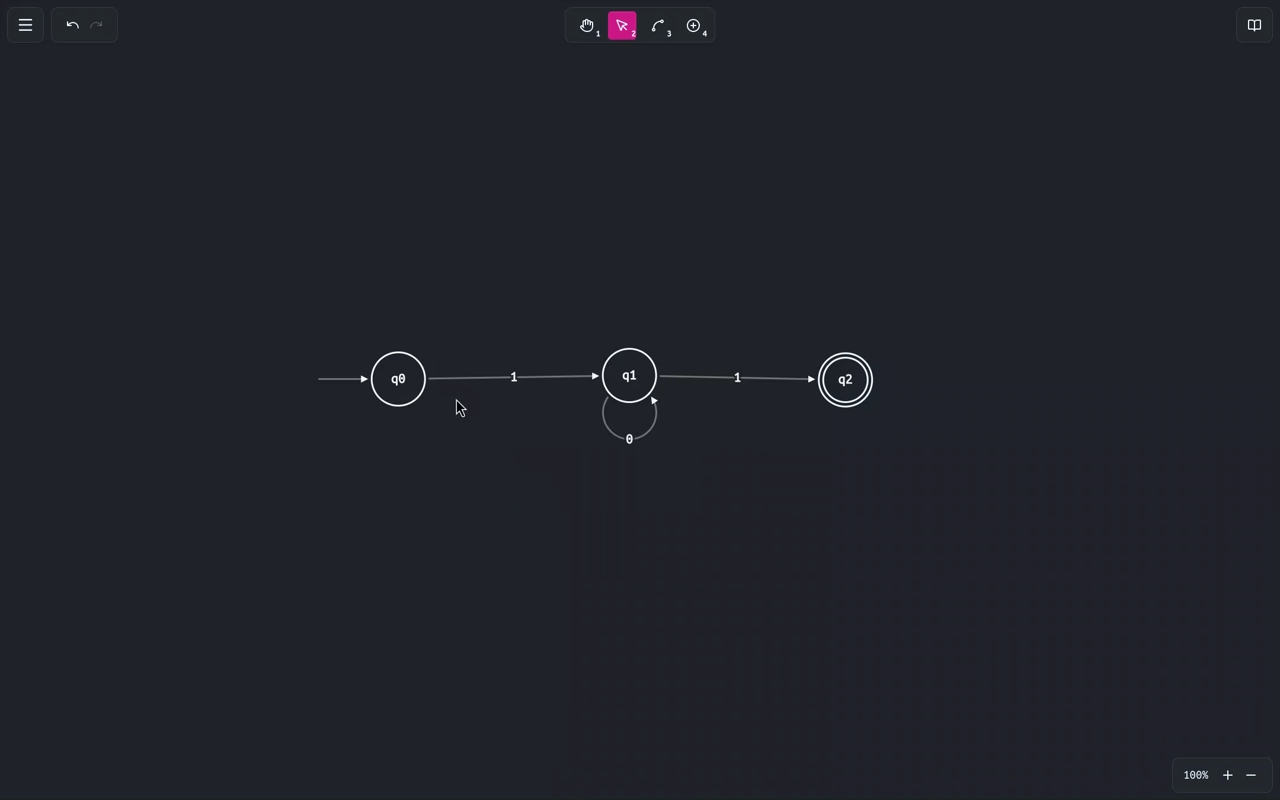
Each state represents a different configuration that the automaton can be in. In the grapical representation, these are represented as circles, with the name of the state written inside.
Note: there are special types of states covered later in the list: start and accepting states. A state could be start, accepting, both, or neither.
- Transitions
The rules that define how the machine moves between states. They are represented as arrows connecting states, where their labels indicate the input needed to perform the transition to the state they point to.
Note: a transition can also point to the same state it starts from, which is called a loop transition.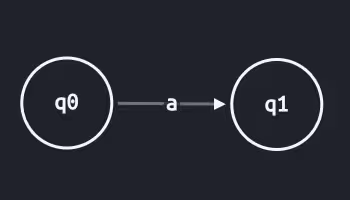
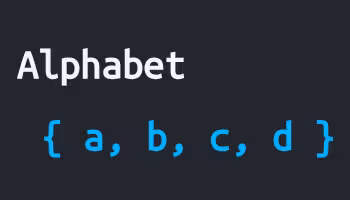
- Alphabet
The set of symbols that the machine can read as input. These are the same symbols used in the transitions' labels, therefore you can infer it from the transitions themselves, but it is often explicitly represented as a list of symbols for clarity.
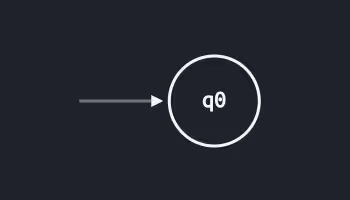
- Start State
The initial state of the automaton, which is the configuration the machine is in before it starts processing any input. This is marked by an incoming unlabelled arrow with no origin.
- Accepting States
A set of states in which the automaton, when done processing the given input, accepts it. These are represented as double circles.

Types of Automata
This application supports four types of automata. They differ in how transitions work and what kind of memory the machine has access to.
- DFA — Deterministic Finite Automaton
The simplest and most constrained type. As the name suggests, they are deterministic, which means that from any state, each input symbol leads to at most one state.
This deterministic behaviour makes them easy to understand and reason about, but can result in more complex automata compared to their non-deterministic counterparts (for the same recognised language).
Note: the formal definition of a DFA requires that every state has exactly one transition for every symbol in the alphabet (this is the definition of a complete DFA). However, in practice we often allow incomplete DFAs where missing transitions implicitly reject the input. This application uses the latter, more flexible definition. - NFA — Non-deterministic Finite Automaton
Like a DFA, but from any state a symbol may lead to more than one state simultaneously. NFAs also allow ε-transitions (read as "epsilon-transitions"), which are special transitions that allow the automaton to change state without consuming any input. Despite the added freedom, NFAs and DFAs recognise exactly the same class of language (regular expressions), and can be converted to each other.
- PDA — Push-down Automaton
An NFA extended with an infinite stack, allowing transitions to push or pop symbols from the stack, giving the machine a form of unbounded memory. This extension allows PDAs to recognize context-free languages, a strictly larger class than the regular languages.
In this application, we write PDA transitions in the from (input, pop → push). - DPDA — Deterministic Push-down Automaton
A deterministic variant of the PDA, meaning that for each state, input symbol, and stack symbol to pop, there is at most one possible next state. DPDAs are strictly less powerful than general PDAs, as there exist context-free languages that no DPDA can recognise.
Interface
Overview
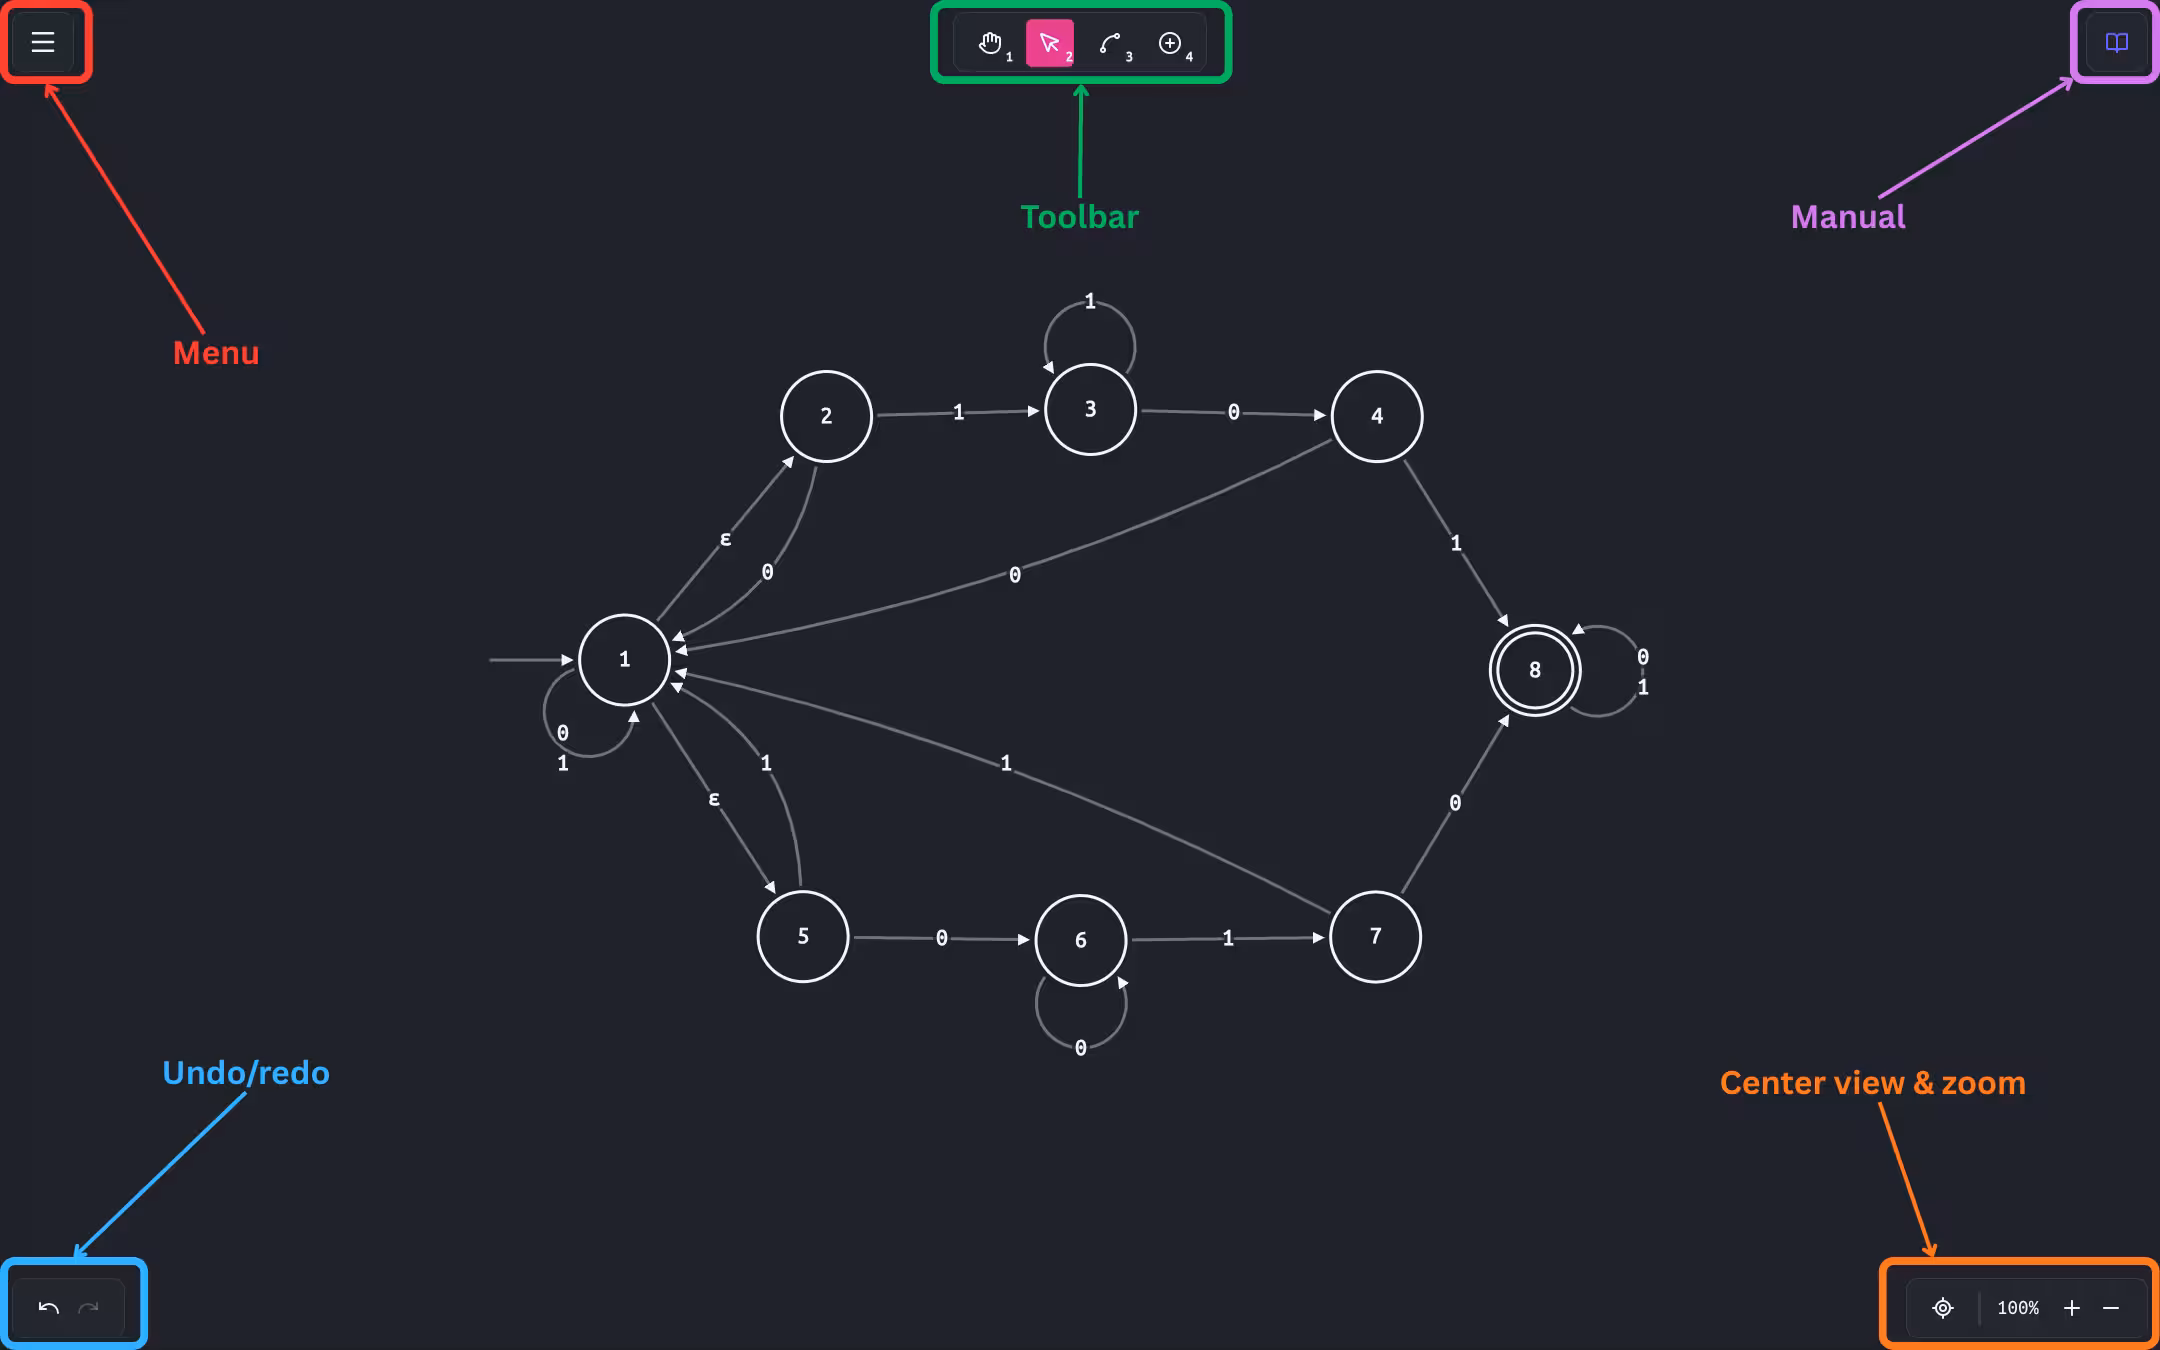
The main interface consists of a screen-wide canvas used to draw and interact with the FSA.
Toolbar
This panel contains all the available tools for working on the automaton. Each allows to perform a specific set of actions, and you can switch between them by simply clicking on them or by using their respective keyboard shortcuts.
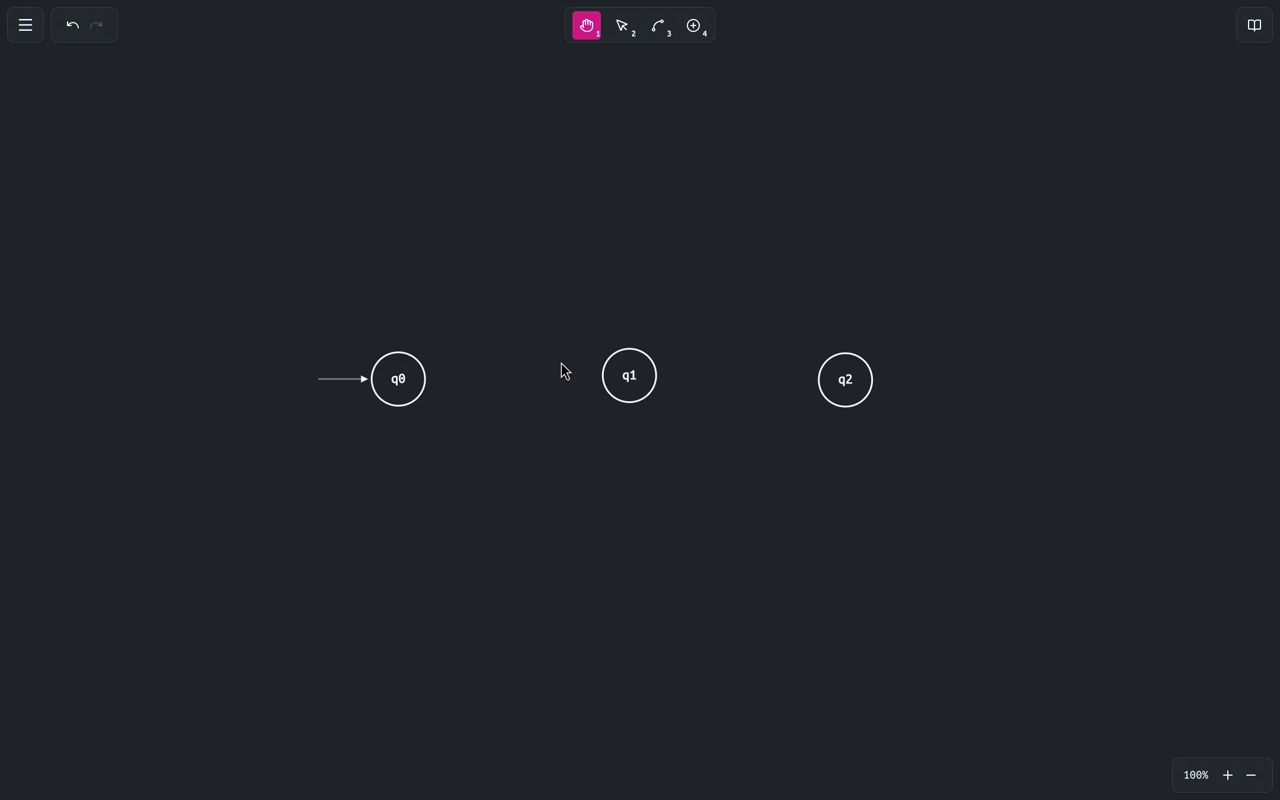
- — keyboard shortcut: 1
Click and drag to pan the canvas. Panning is also available in any tool via Scroll (vertical) and Shift+Scroll (horizontal).
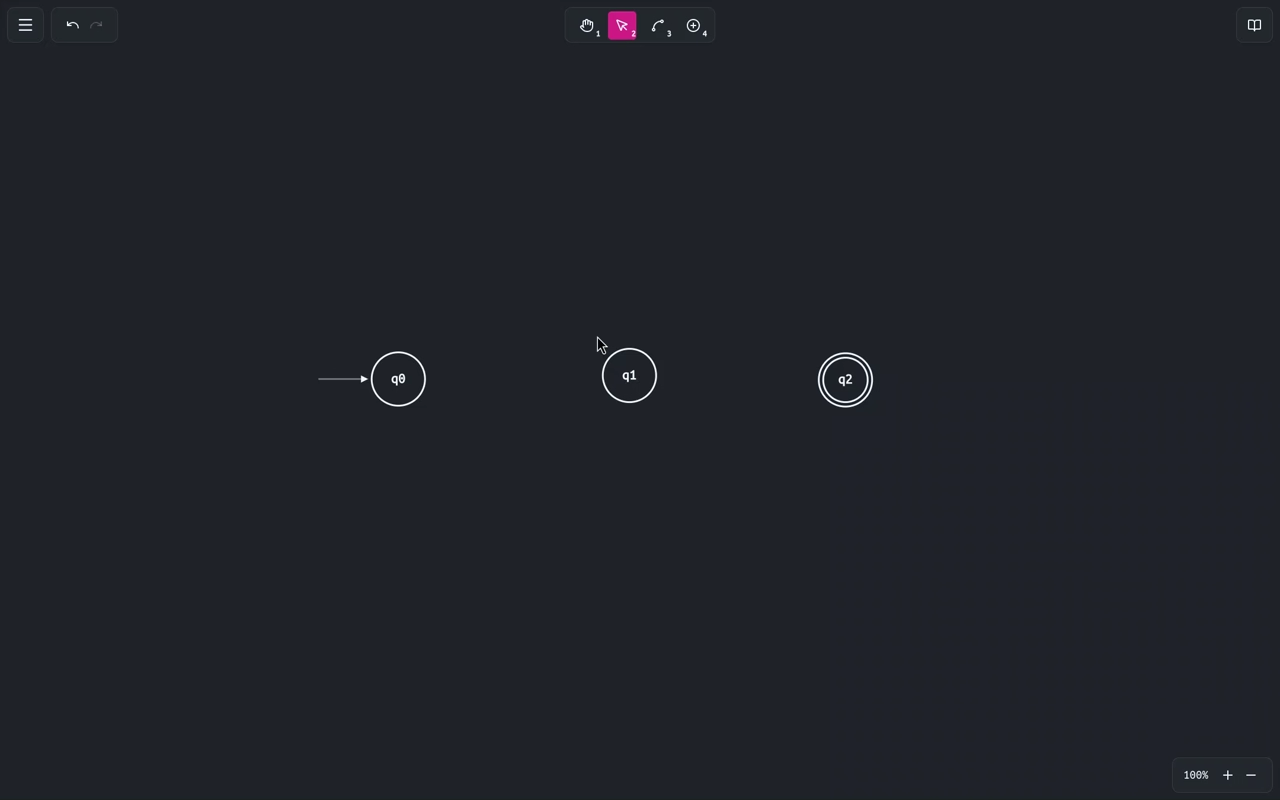
- — keyboard shortcut: 2
The main editing tool. It allows to edit existing states and edges (through a contextual panel appearing when an item is selected). Additionally, you can:
- Drag a state to reposition it on the canvas.
- Drag an edge to adjust its curvature. Holding Shift while dragging snaps the curve to the midpoint between the two connected states, resulting in a symmetric curve.
- Double-click a state to toggle it between accepting and non-accepting.
- Click and drag on an empty area of the canvas to draw a selection box and select multiple items at once. Selected items can then be moved or deleted in a single action.
- — keyboard shortcut: 3
Allows drawing transition edges between two states. A single edge can 'hold' multiple transitions: you can add, edit, or remove individual transitions via the edge's context panel after drawing it.
Note: duplicate edges (two edges with the same source state and target state) are not allowed. If you want to have multiple transitions between the same two states, add them to the same edge. - — keyboard shortcut: 4
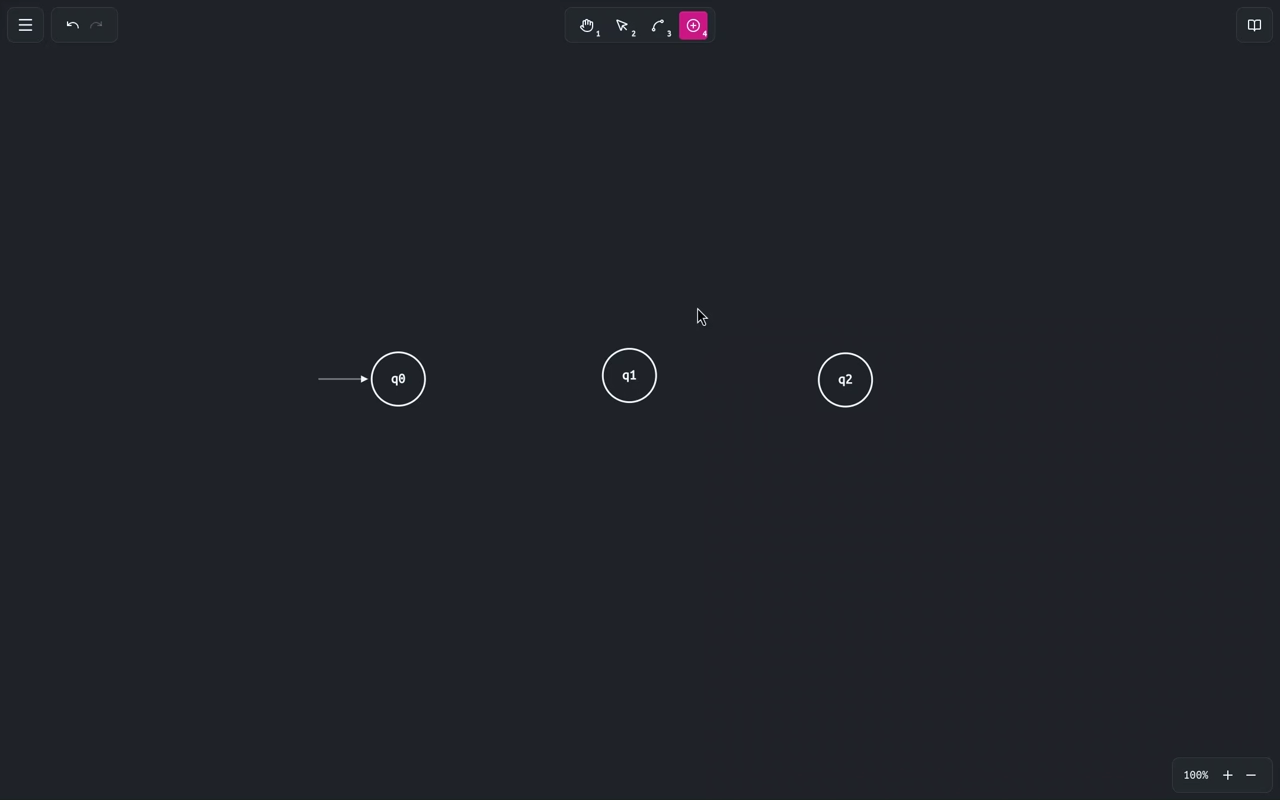
Allows to add new states by simply clicking anywhere on the canvas.
Note: for convenience, when clicking on a state or edge, the application automatically switches to and selects the clicked item, allowing you to immediately edit it without needing to manually switch tools.
Keyboard Shortcuts
| Action | Shortcut |
|---|---|
| Pan tool | 1 |
| Select tool | 2 |
| Draw Edge tool | 3 |
| Add State tool | 4 |
| De-select all | Escape |
| Delete selected | Delete |
| Undo | Ctrl + Z |
| Redo | Ctrl + Y |
| Center view on the automaton | Ctrl + 0 |
| Zoom in (relative to center of the screen) | Ctrl + = |
| Zoom out (relative to center of the screen) | Ctrl + - |
| Zoom in/out (relative to mouse position) | Ctrl + Scroll |
| Pan vertically | Scroll |
| Pan horizontally | Shift + Scroll |
| Snap to symmetric curve (when adjusting an edge curve) | Shift |
How to
Add a State
Select the tool from the toolbar, then click anywhere on the canvas. A new state will be created at that location. If the FSA is currently empty, the newly added state will automatically be set as the start state.
Set Start State
You can set the intial state via its context panel.
Select the tool and then click on the desired state. In the context panel that appears, check the Is Starting checkbox. This unset the previous start state (if any) and set the selected
state as the new start state.
Toggle Accepting State
You can toggle the accepting status of a state via its context panel.
Select the tool and then click on the desired state. In the context panel that appears, check the Is Accepting checkbox. You can also do so by simply double-clicking the state while
the select tool is active.
Draw an Edge
Select the tool. Click on
the source state and, while holding, drag to the target state. Release the mouse button to
create the edge. To create a self-loop, you can simply click and release on the same state.
Note: if the edge you are trying to create already exists, then creation of the new
edge will fail.
Edit Transitions
You can manage transitions on an edge via its context panel.
Select the tool and
click an edge to open its context panel. From there you can add new transitions, edit existing
ones, or remove them individually. Each transition defines the input symbol consumed (and, for
PDAs, the stack operations).
Note: if you want to remove the last transition on an edge, you need to delete the
edge itself, as edges must always have at least one transition.
Adjusting Automaton Shape
Select the tool.
Moving states:
Clicking and dragging states moves them freely on the canvas, adjusting the connected edges accordingly.
If multiple items (states and/or edges) are selected, they will be moved together.
Adjusting edges:
Clicking and dragging an edge to adjust its curvature. By default, the curve is adjusted freely, but
holding Shift while dragging will snap it to a symmetric arc centered between the two source
and target states. Note that self-loops shape cannot be adjusted, but you can use the same dragging
action to rotate them around the state.
Transition Table
What is it?
A transition table is a tabular representation of the transitions in an FSA.
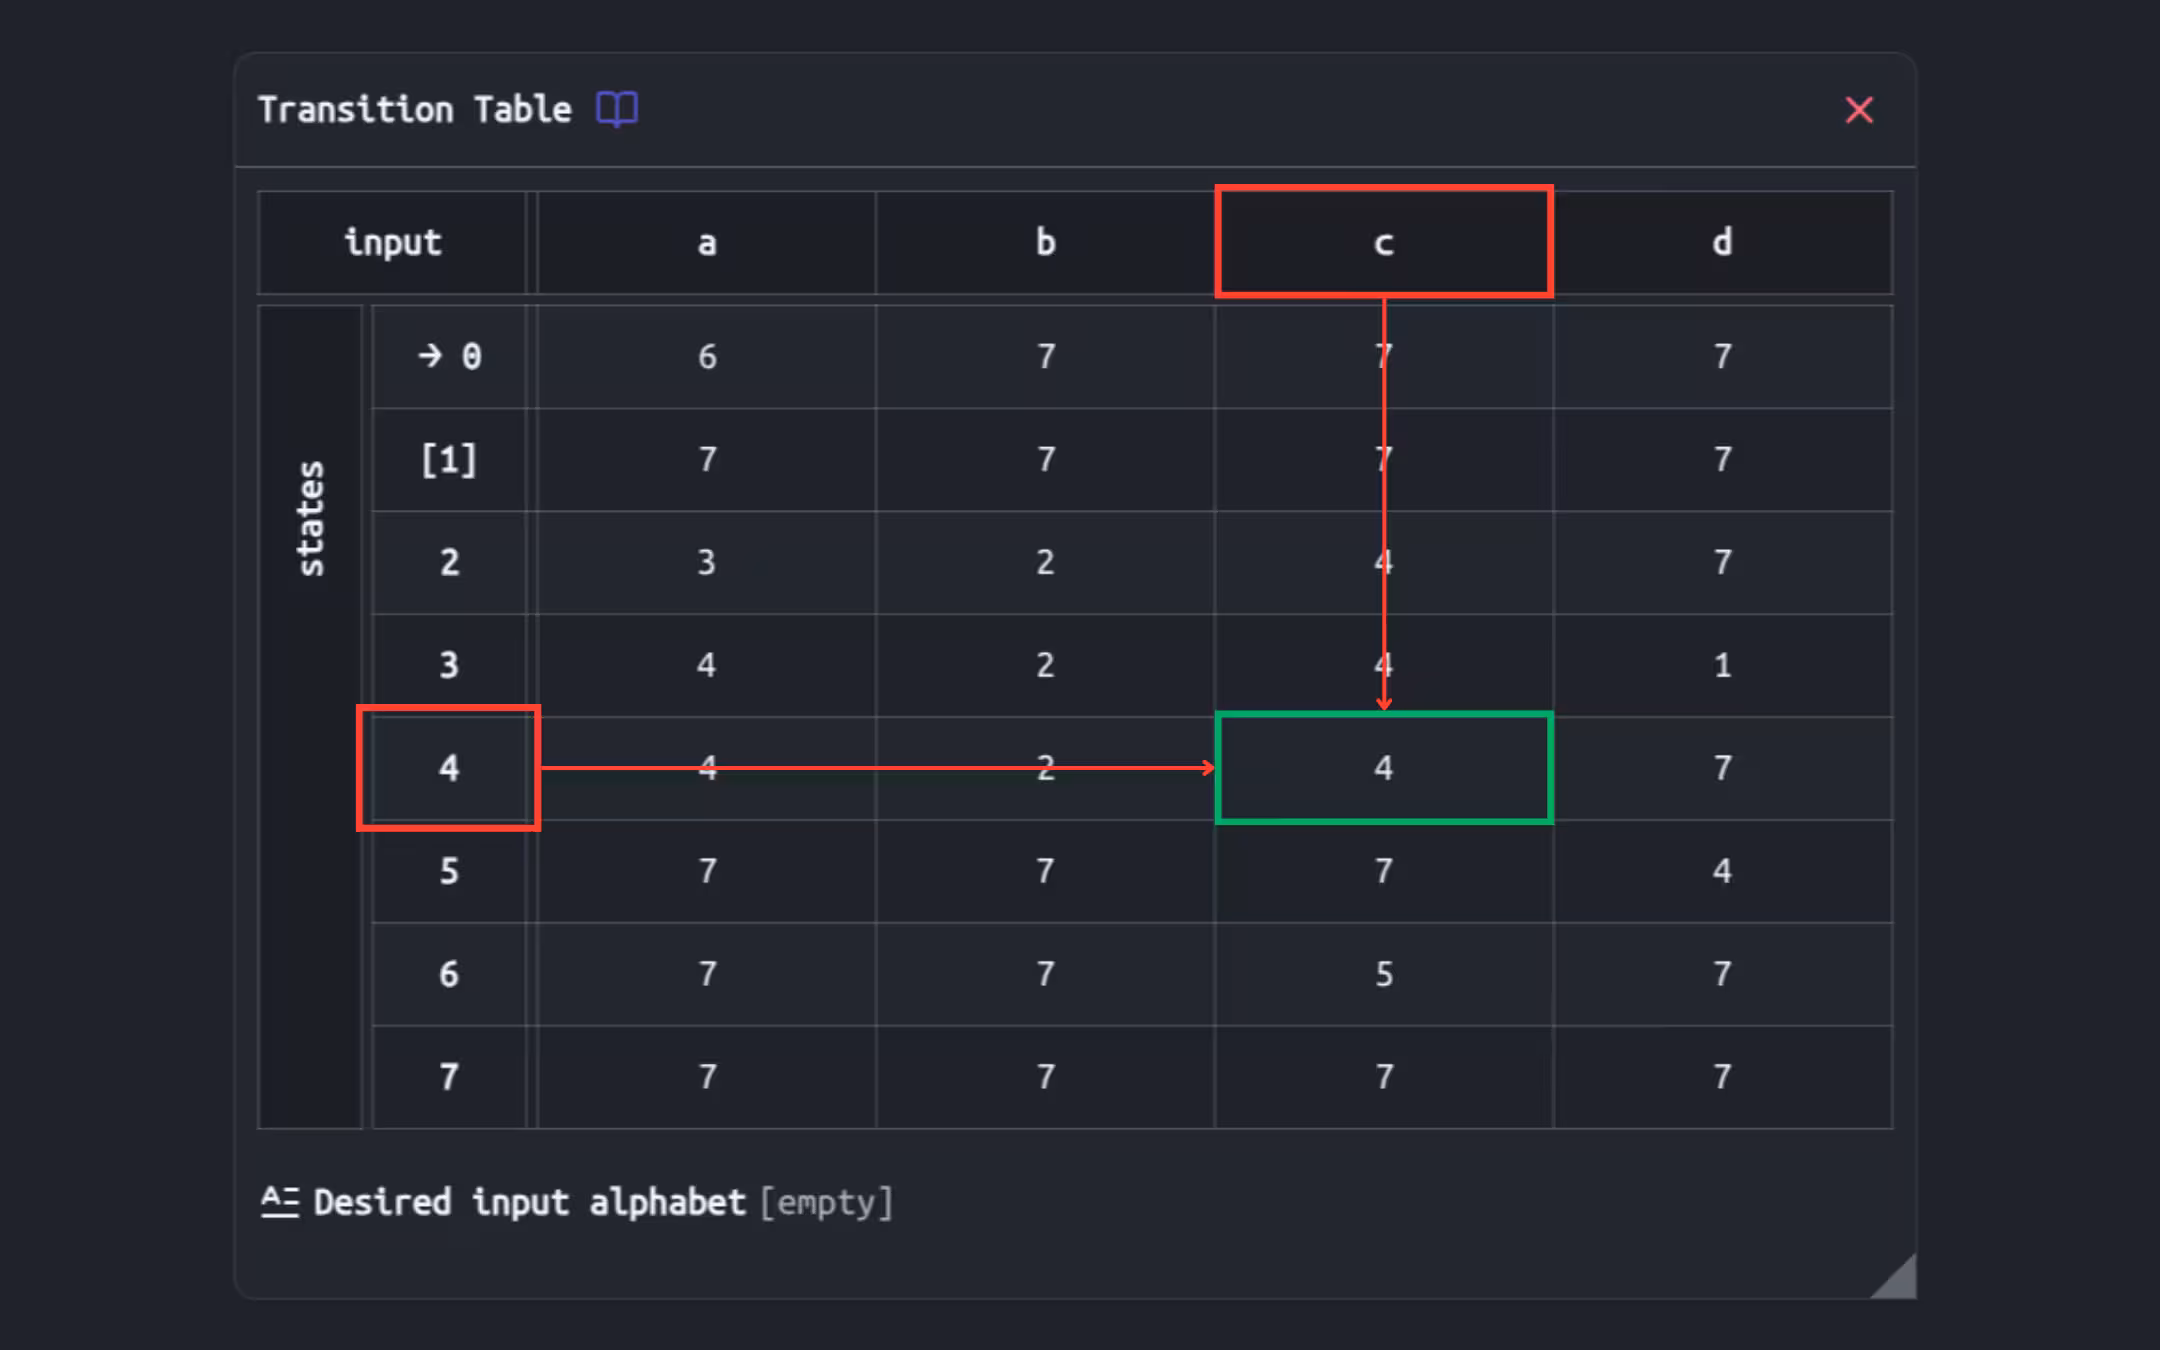
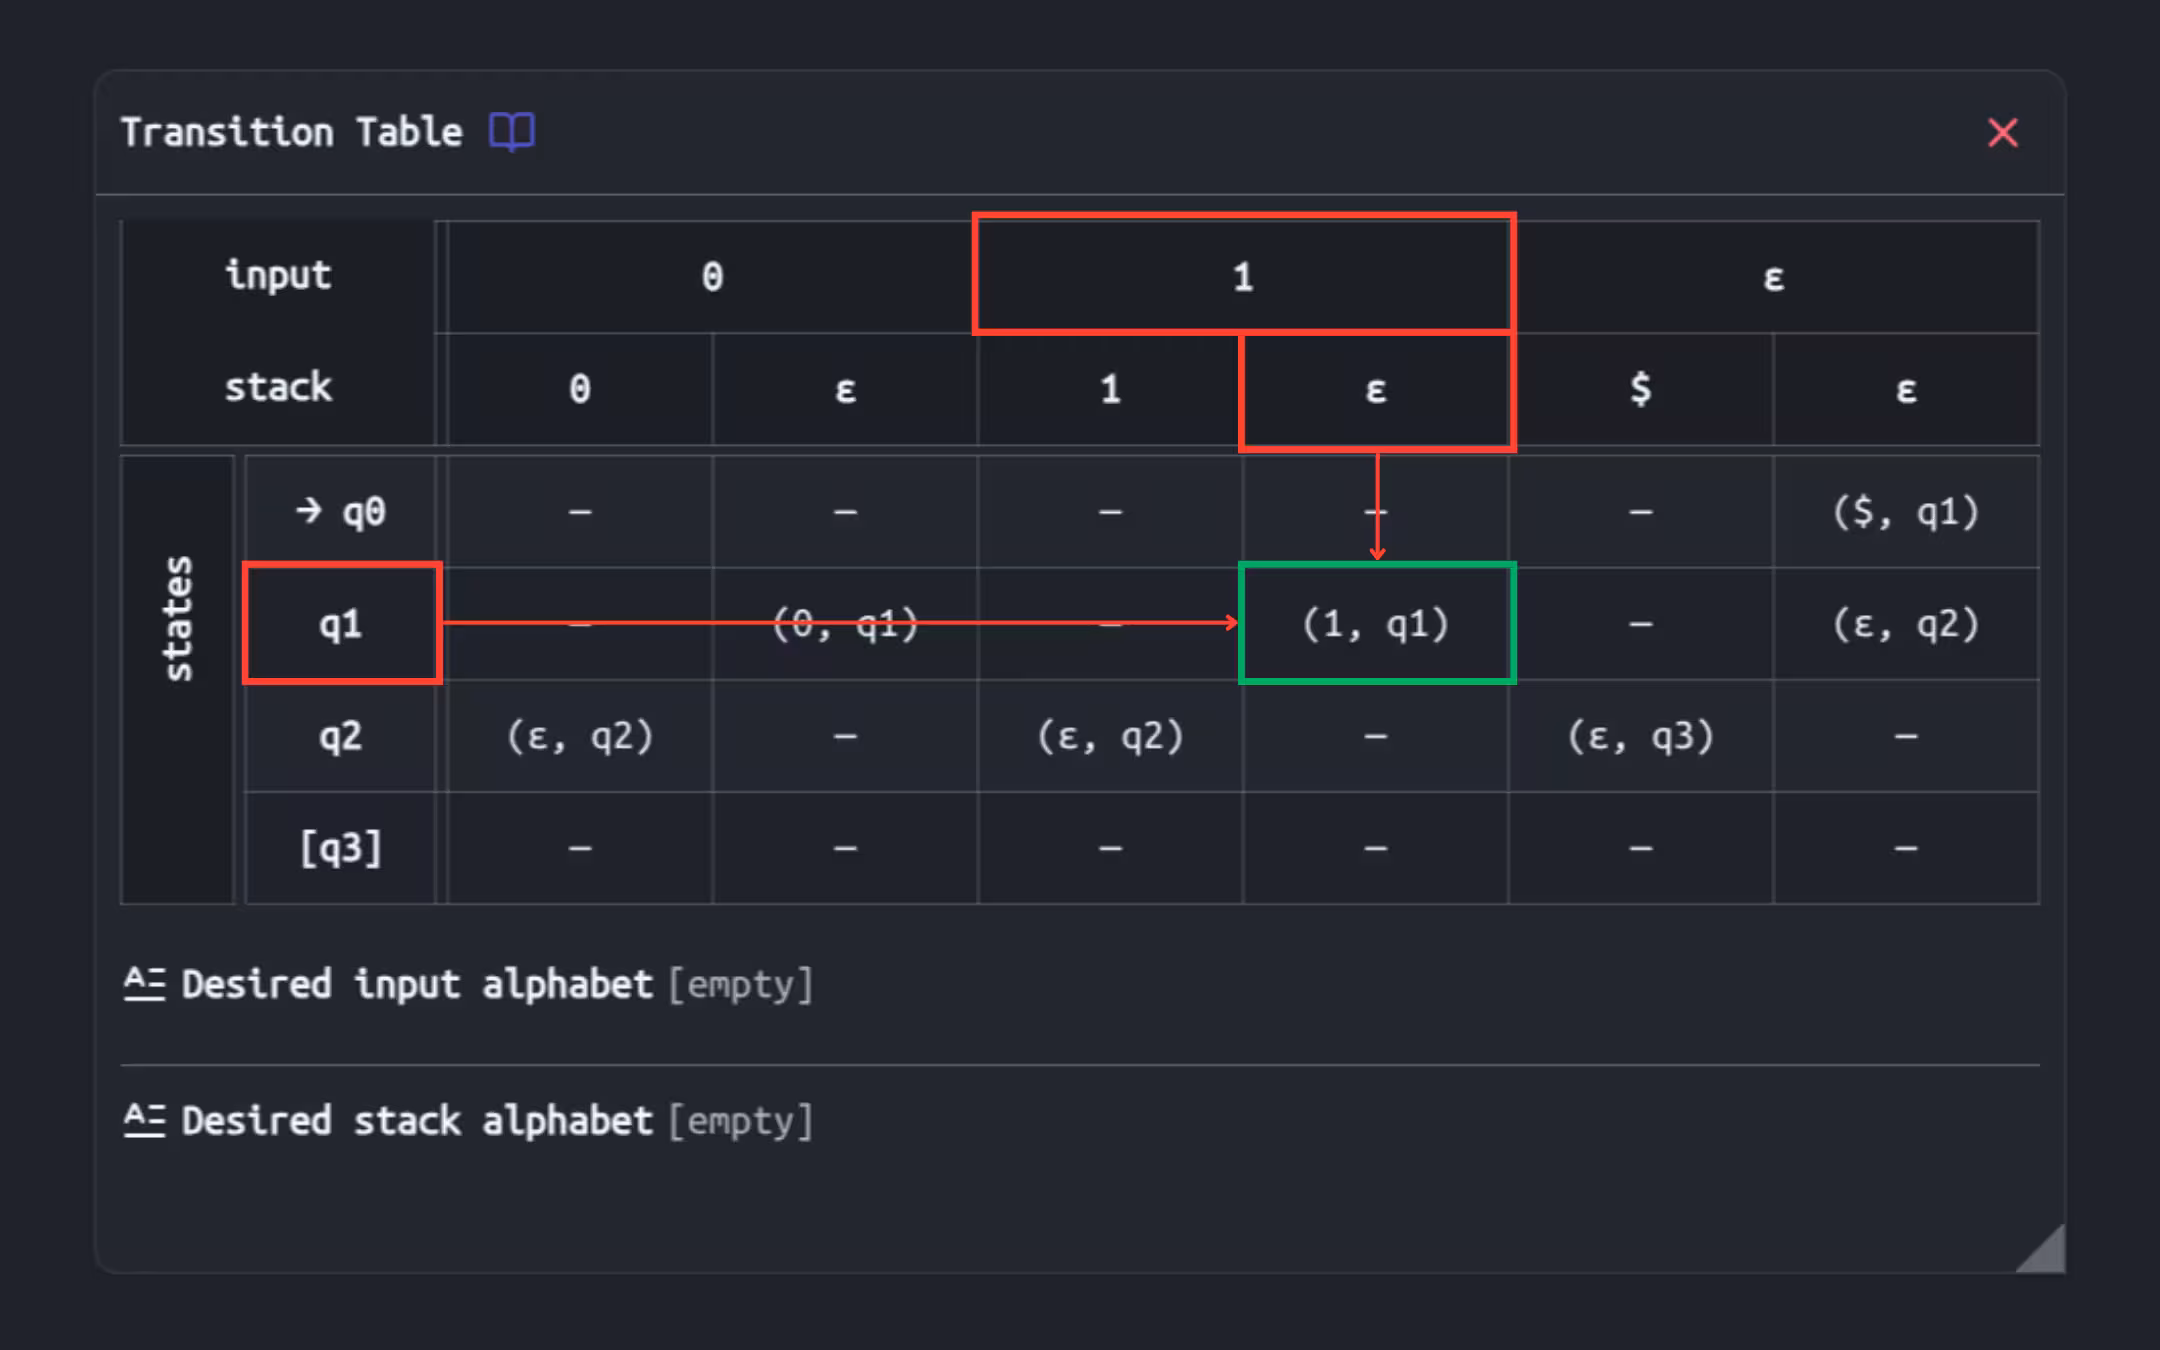
Each row of the table represents a state, while each column corresponds to an input symbol (and top
of the stack, for pushdown automata). The cell at the intersection of a row and column lists the target
states for the transition defined by that state and input symbol.
Note: for non-deterministic automata, a single cell might contain
multiple target states, since there can be multiple transitions for the same state and input symbol
combination.
Examples
Desired Alphabet
You can specify a desired alphabet for your automaton (for pushdown automata, you can also specify a desired stack alphabet). This represents the intended set of input symbols that the automaton should be able to process.

As shown in the image above, once you define a desired alphabet, symbols that are already
predent in the actual alphabet will be highlighted in green, while missing symbols will be
highlighted in red.
This feature is purely for visual guidance when building your automaton, and it does not affect its
actual behavior in any way.
Simulation
Compute Input
To simulate an input through the automaton, first open the Compute Input window
(you can find it in the main menu).
With the compute input window open, you can enter an input string and click the Compute to process it through the automaton. This will list all the possible paths
that the automaton can take to process the input, separated between accepting and rejecting paths.
You can click on any of the listed paths to start a step-by-step simulation of that path.
This is because pushdown automata can have a specific type of infinite loop where the stack content grows infinitely. This is particularly problematic because in some situations, a valid input might only be accepted after a long sequence of loops, meaning we can't simply completely ignore these infinite loops.
Simulation Playback
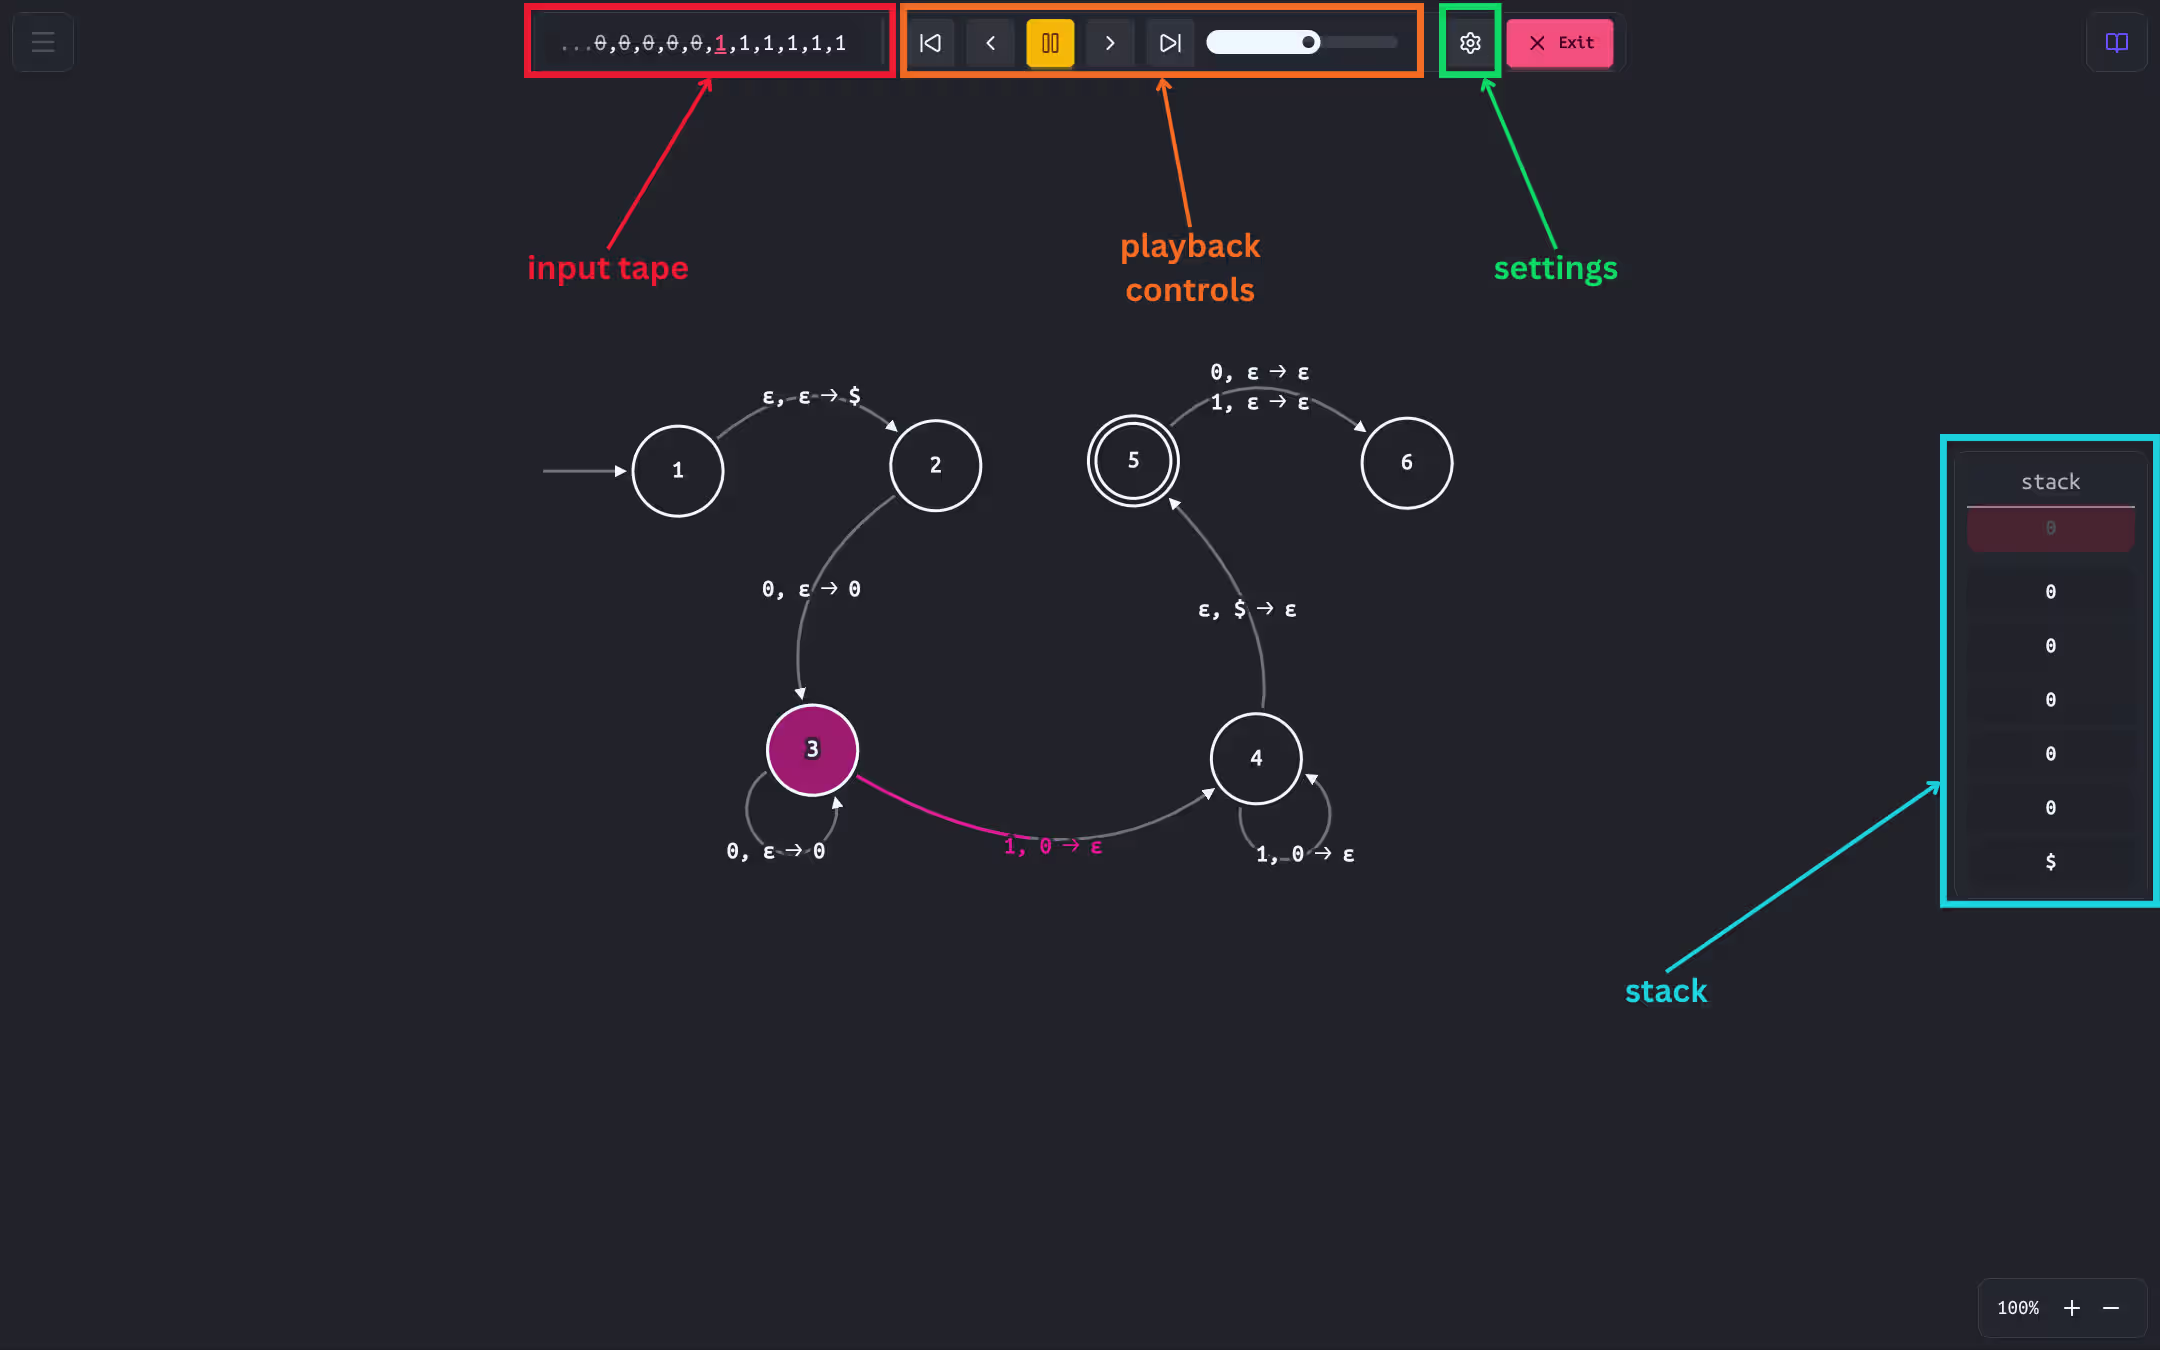
Once you have selected a path to simulate, the simulation playback will open. This will hide all editing controls and display a simulation panel at the top of the screen.